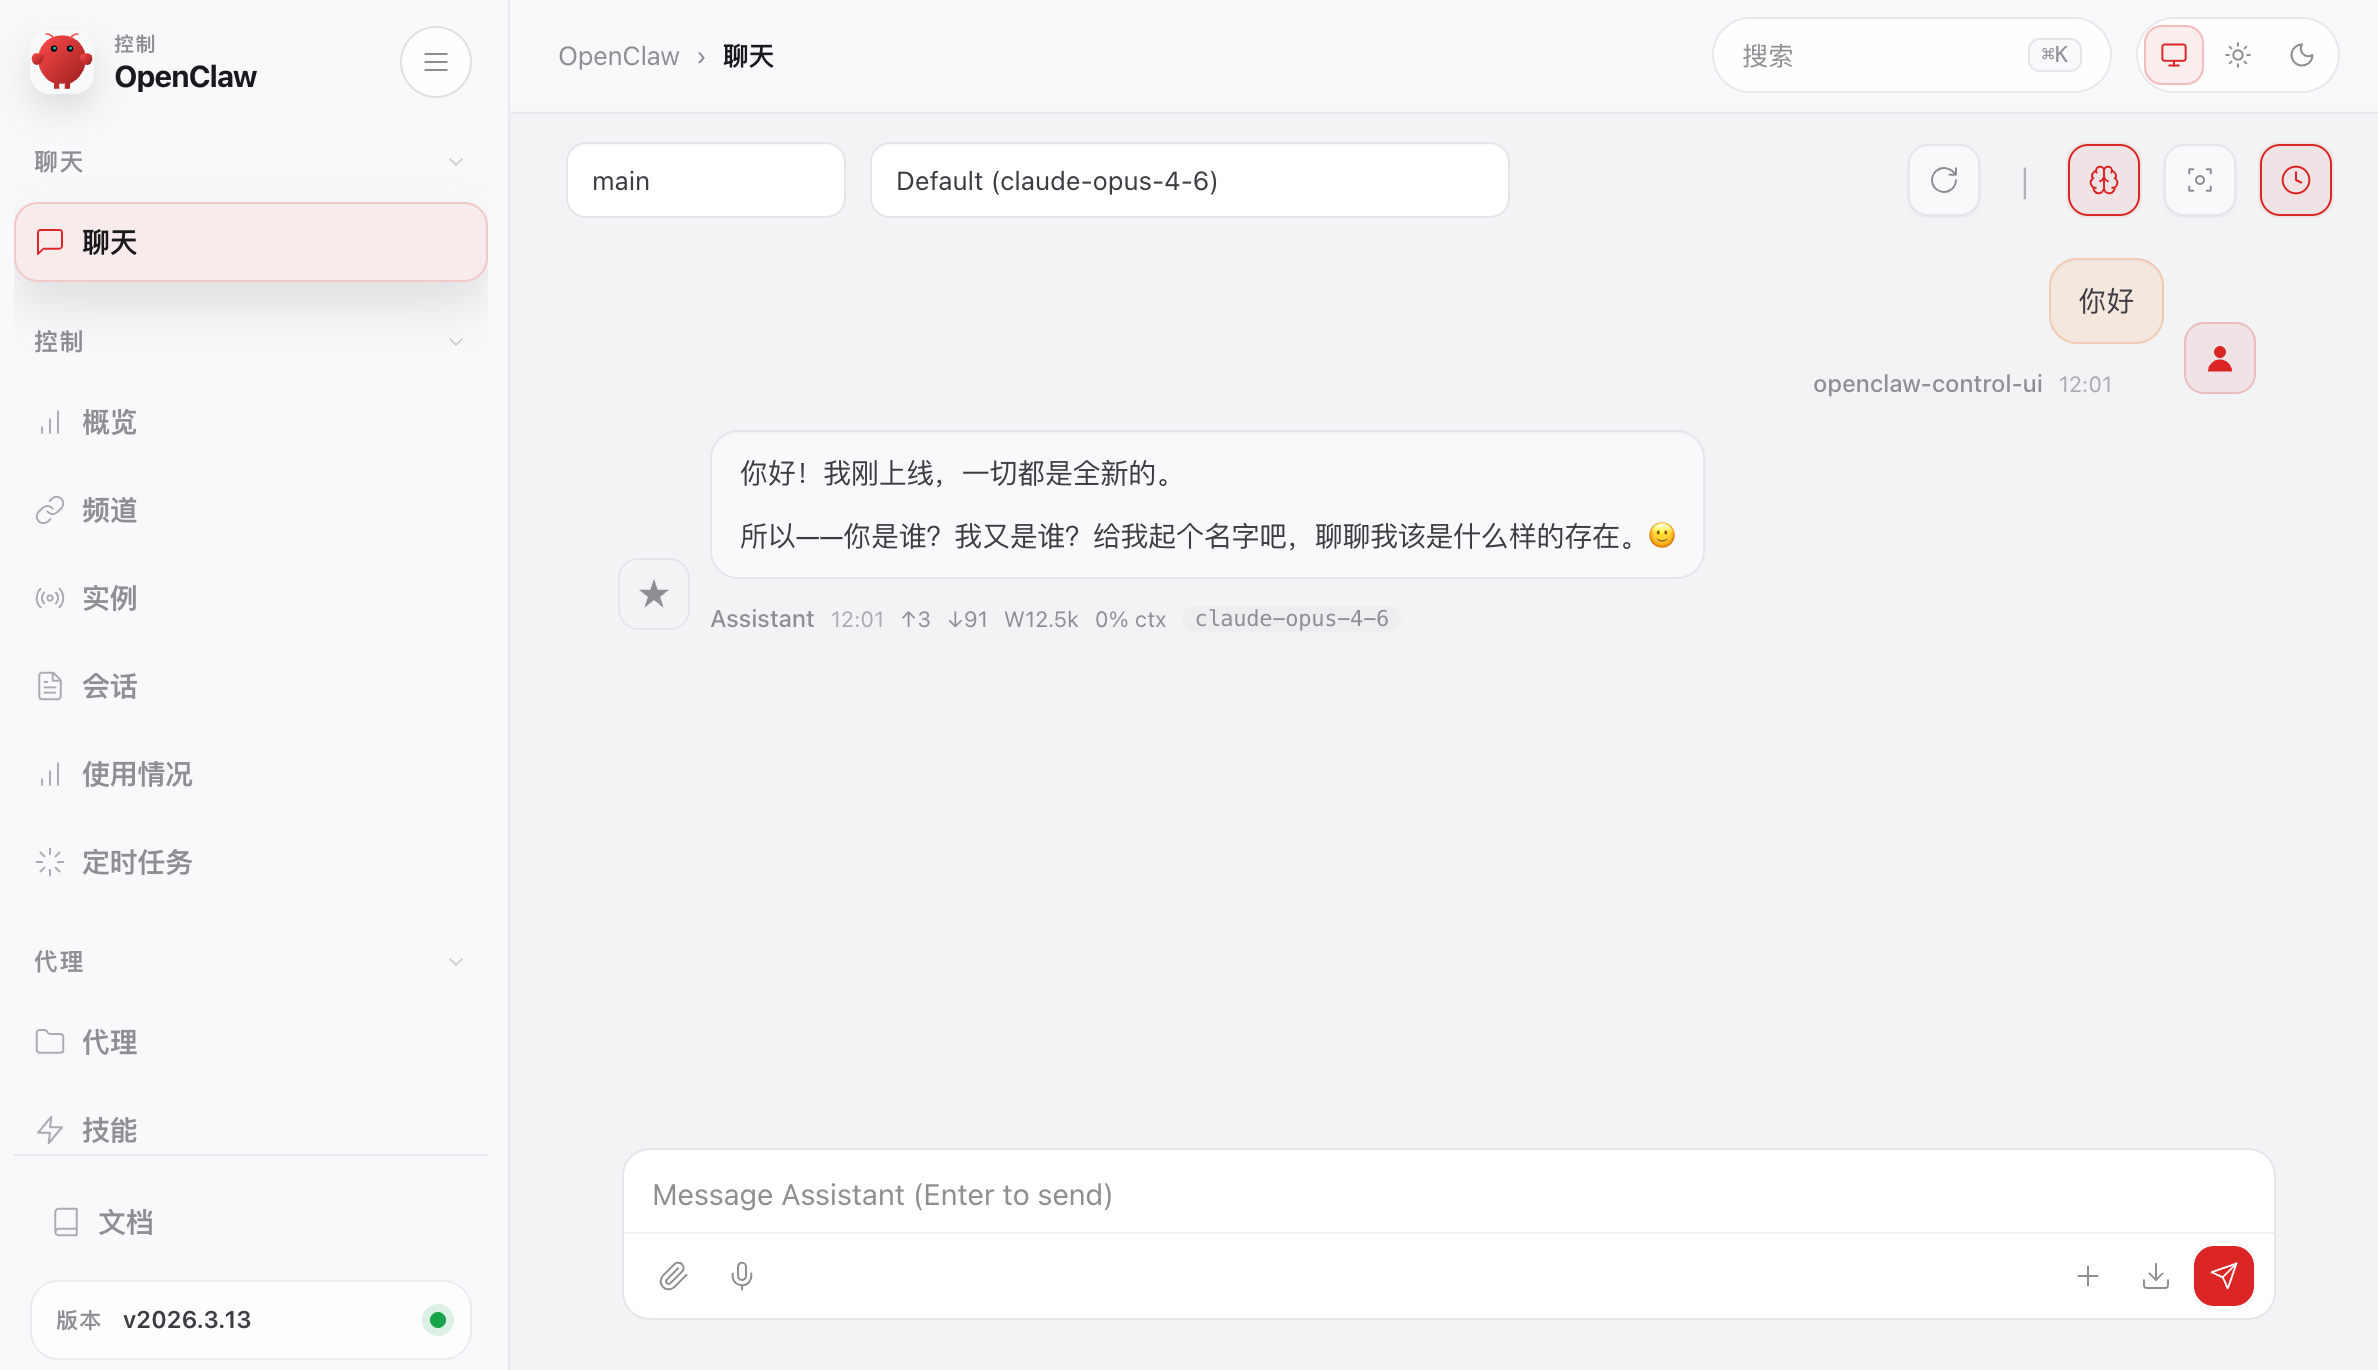
OpenClaw Setup Guide
Deploy OpenClaw from scratch and integrate it with the Coding Flow platform.
Current installation version: OpenClaw 2026.3.13 (61d171a)
Before starting, please complete the Node.js Environment Installation Tutorial.
What You'll Need
- A valid API Key (format:
sk-******) - An accessible Service Address (Base URL) (usually provided by the deployment party/gateway)
General Service Address for This Site
Step 1: Install OpenClaw
Execute the following command in the server terminal to globally install OpenClaw:
npm install -g openclaw
After seeing the successful installation message, the core program is in place.
Step 2: Run Wizard to Complete Basic Configuration
Enter the following command in the terminal to start the interactive wizard:
openclaw onboardThe wizard will ask you questions step by step. Follow this strategy:
- I understand this is personal-by-default and shared/multi-user use requires lock-down. Continue? → Select Yes.
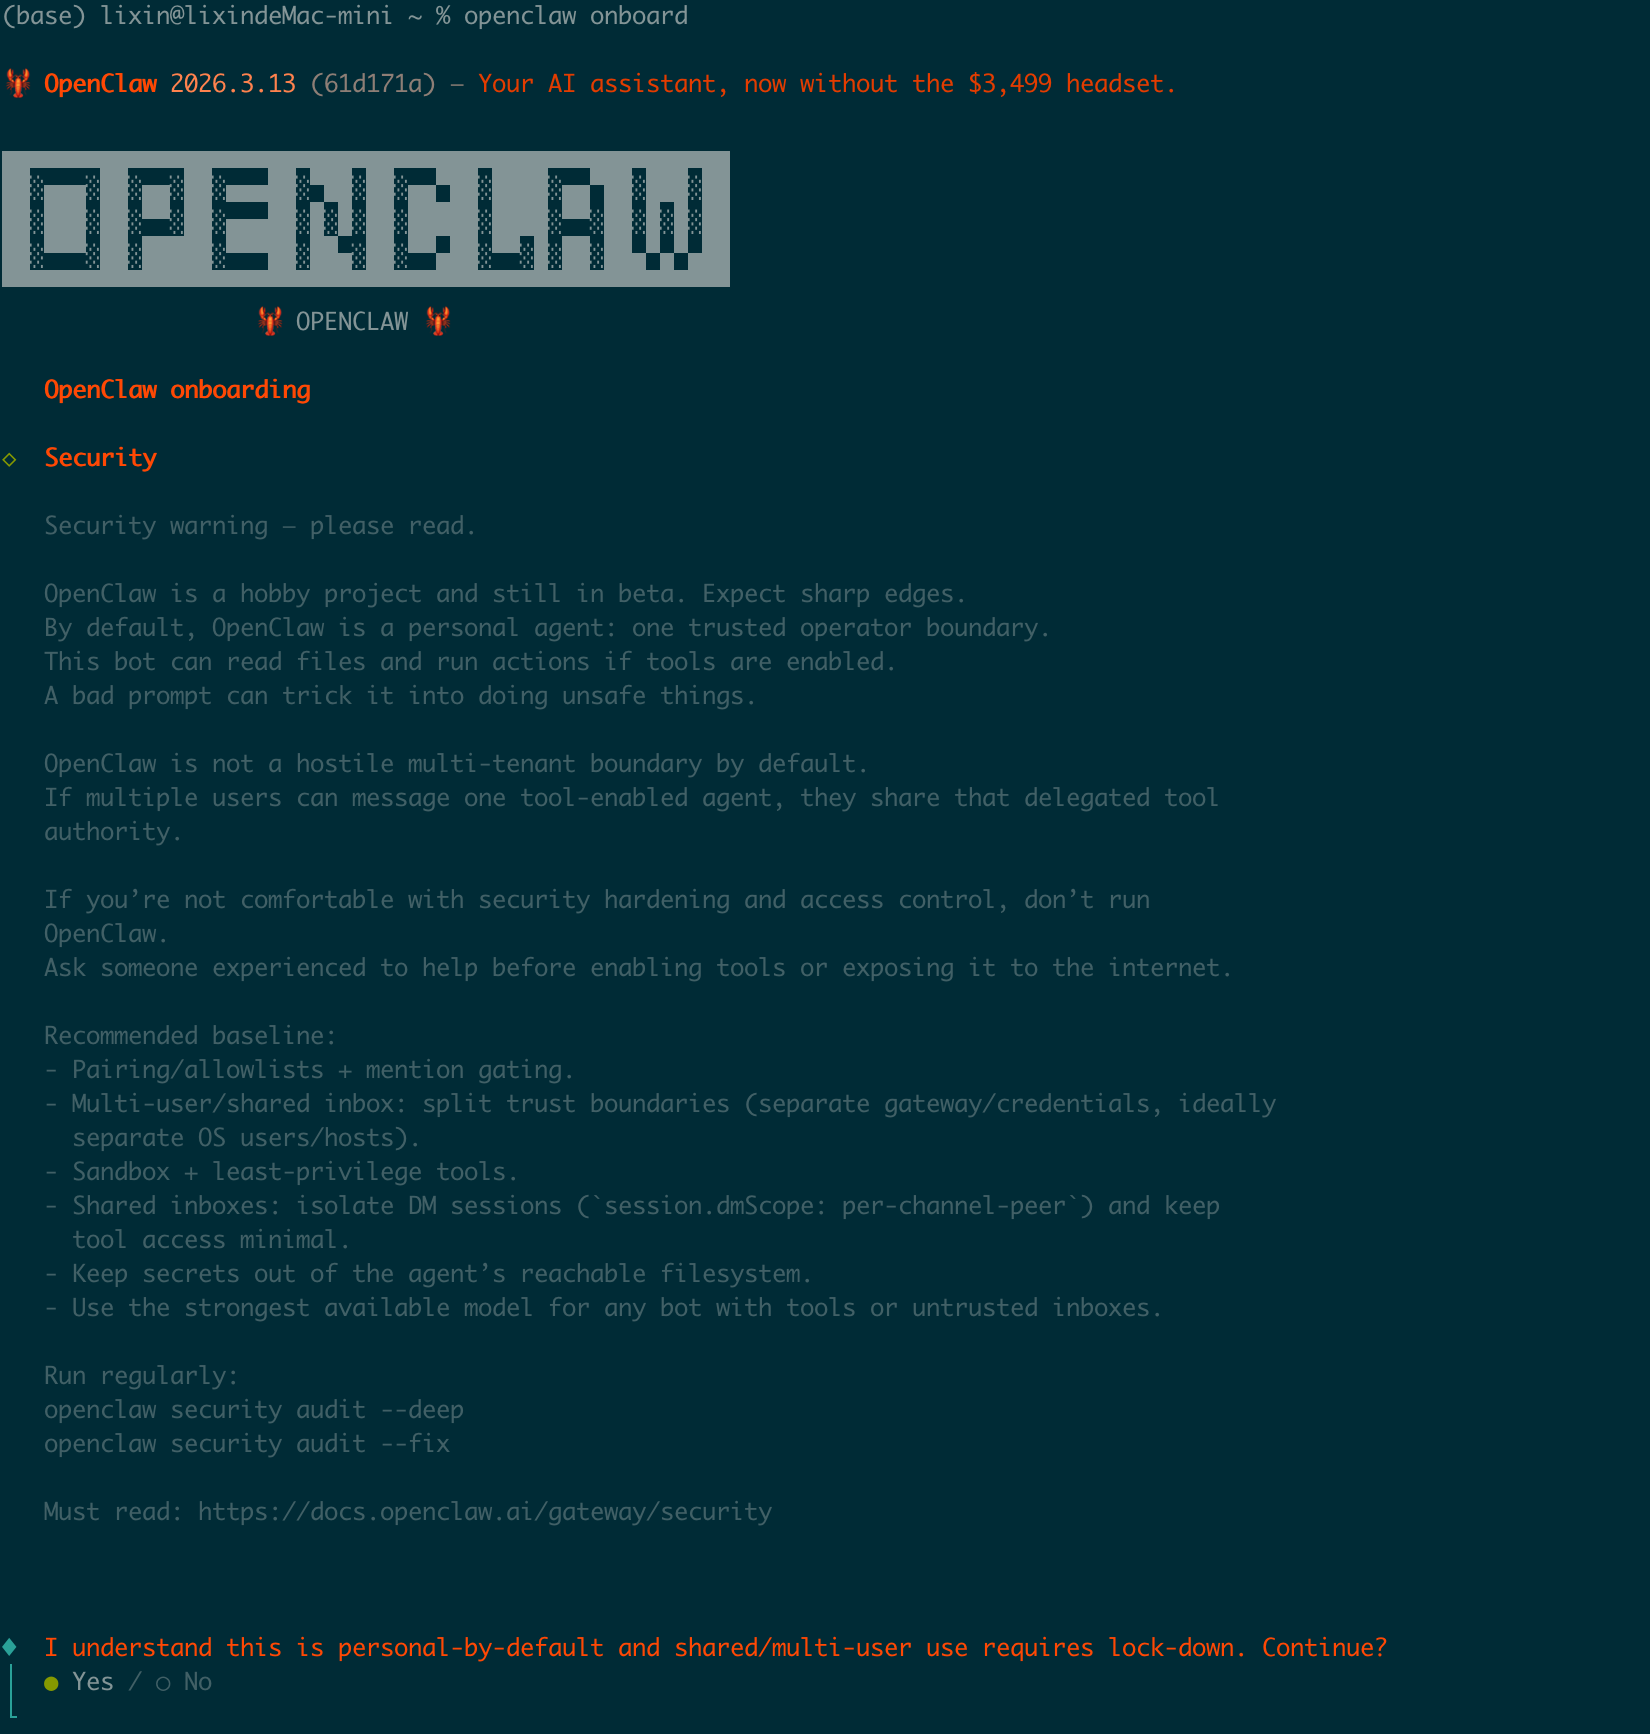
- Onboarding mode → Select QuickStart (use default configuration directly for new servers, most hassle-free).

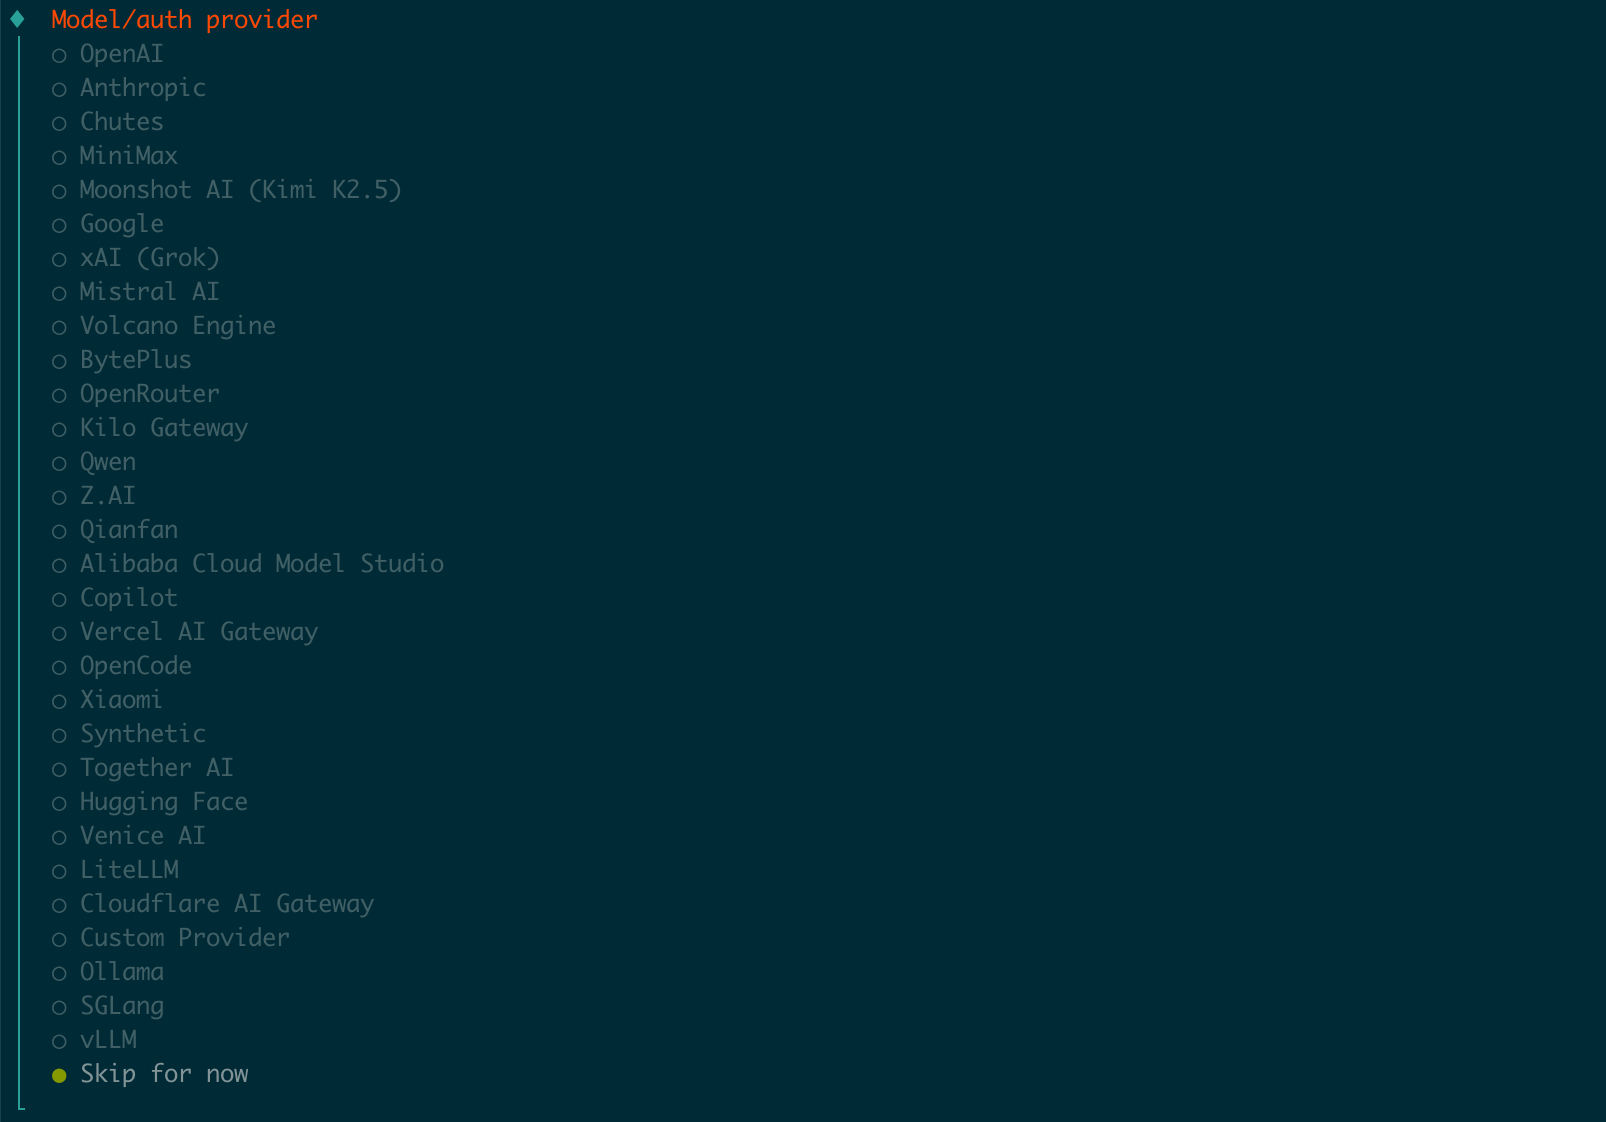
- Model/auth provider → Scroll to the bottom and select Skip for now (configure later). This is a critical step because the
Coding Flowwe want to connect is not in the official list, so skip it first and configure it manually later.
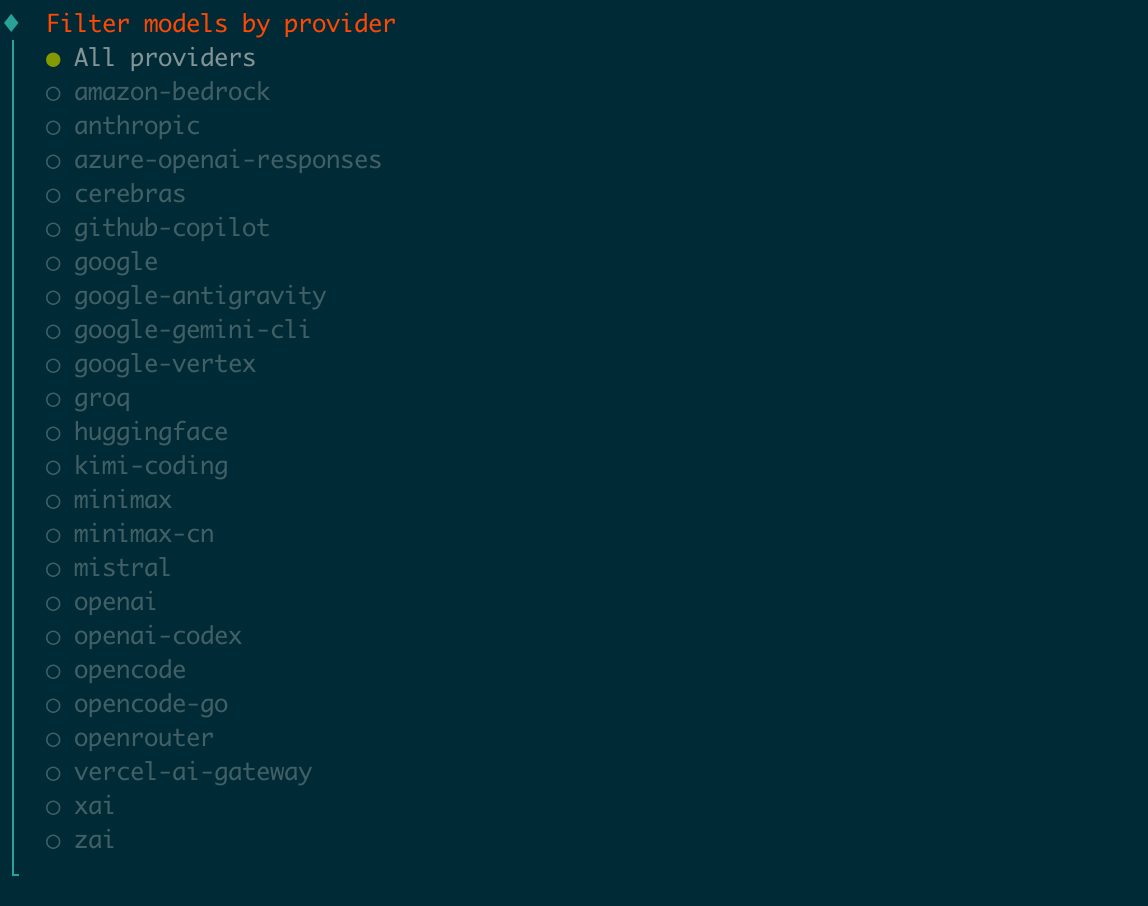
- Filter models by provider → Keep All providers, just press Enter.
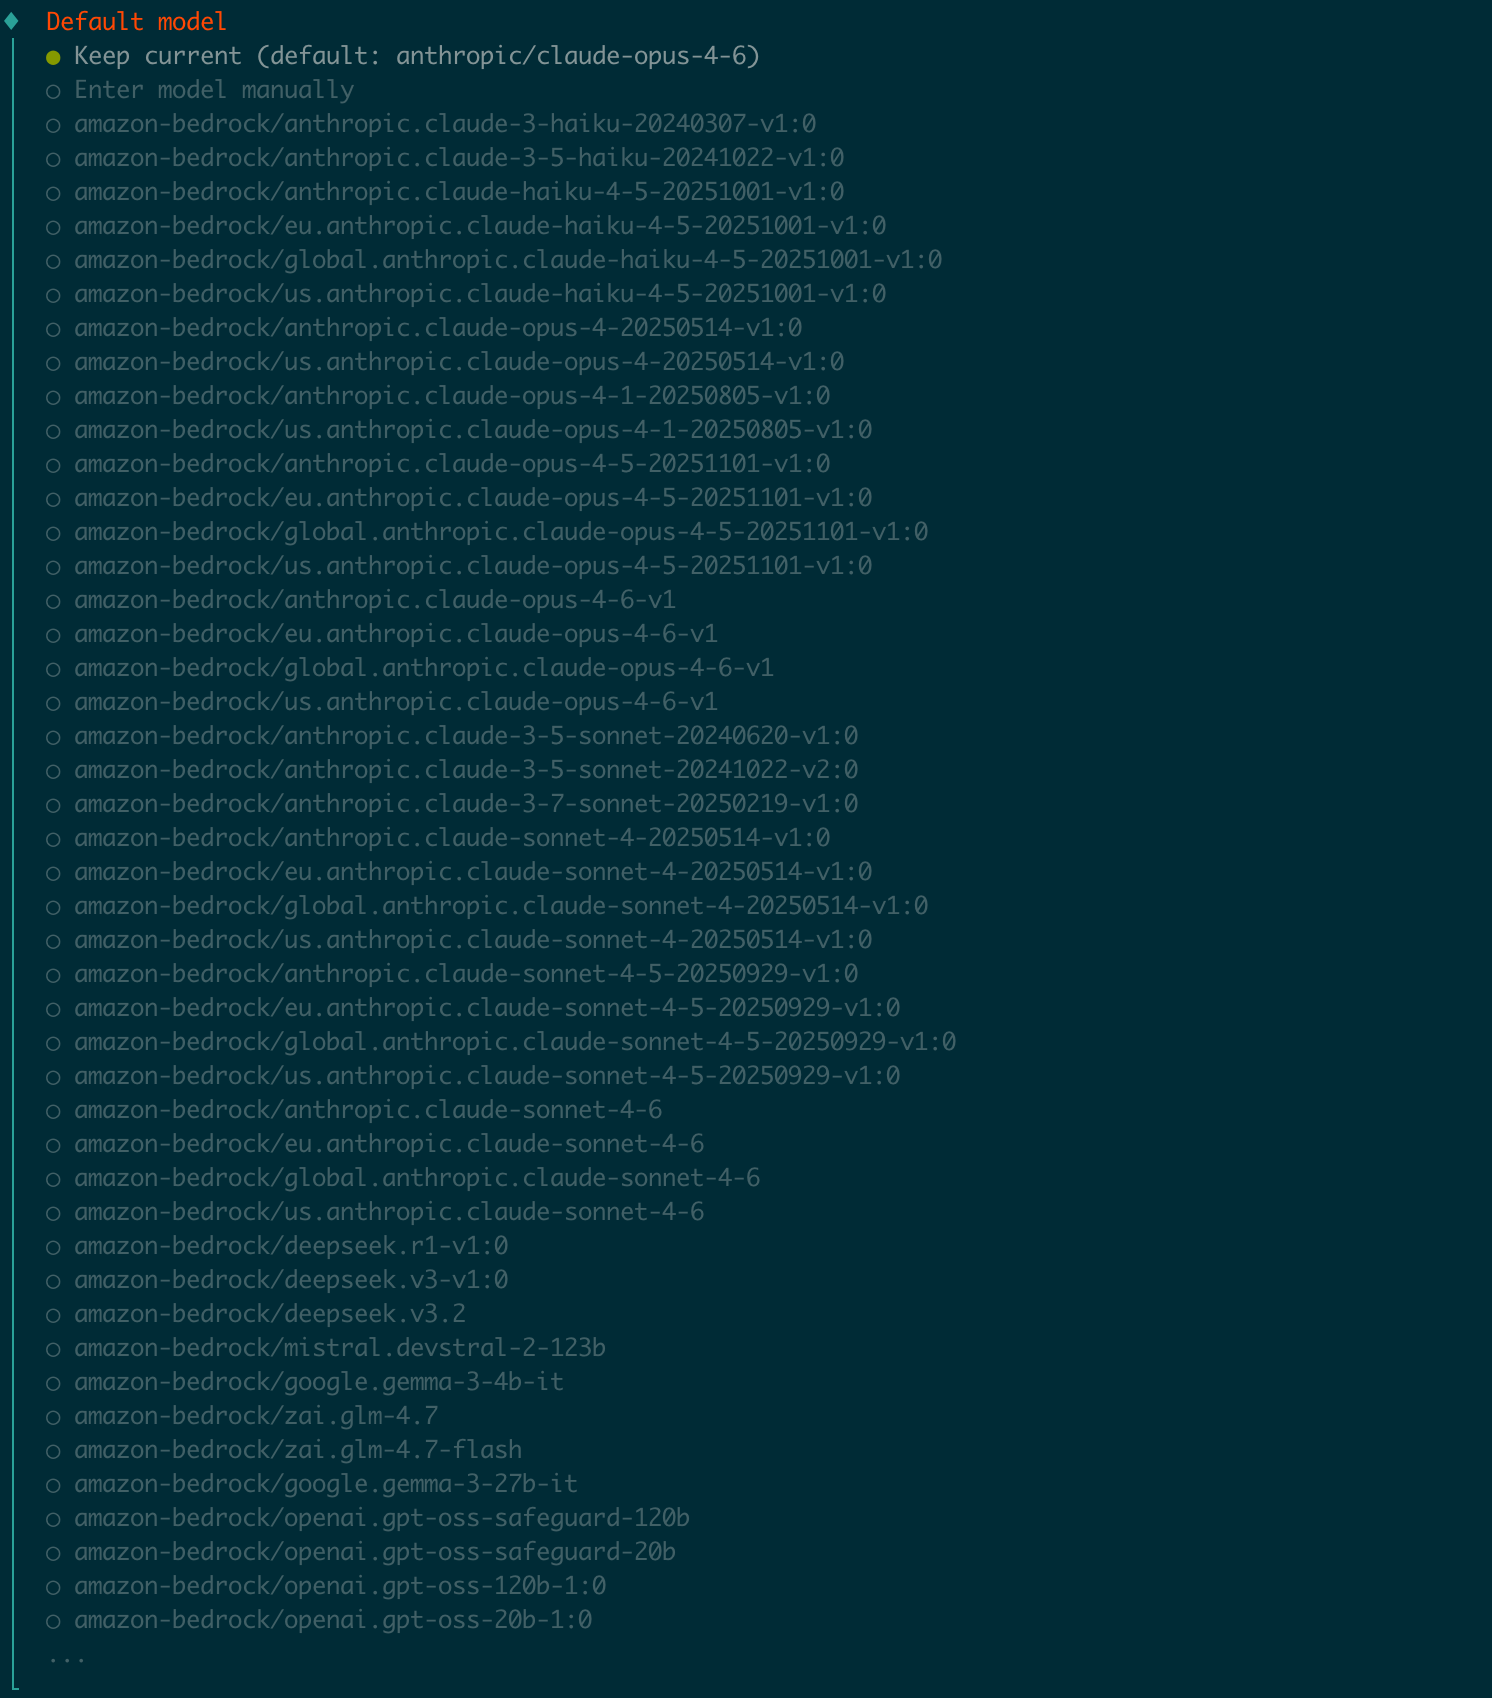
- Default model → Select Keep current (keep the default, we will manually specify the
Coding Flowmodel in the configuration file later).
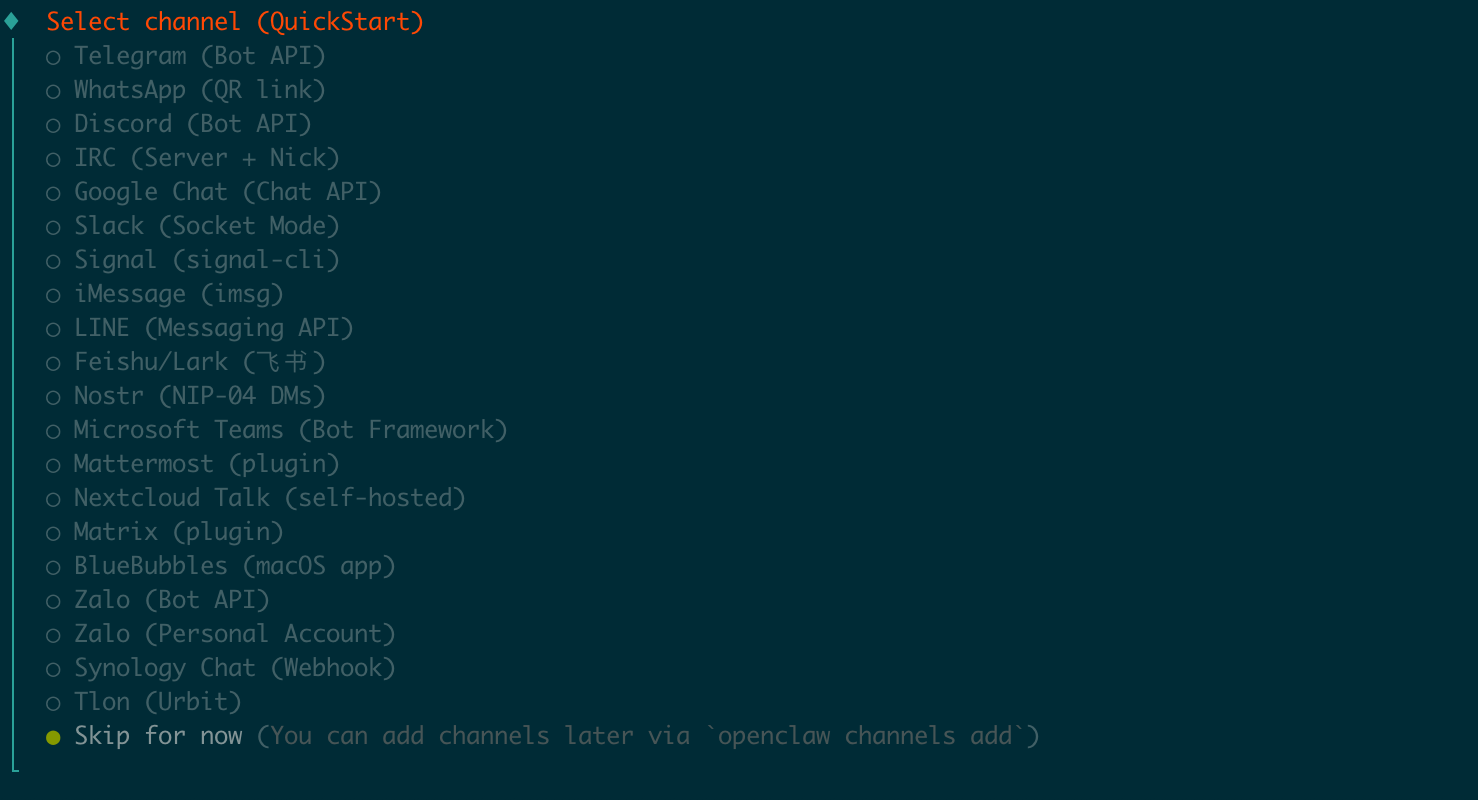
- Select channel (QuickStart) -> Select Skip for now to skip bot selection
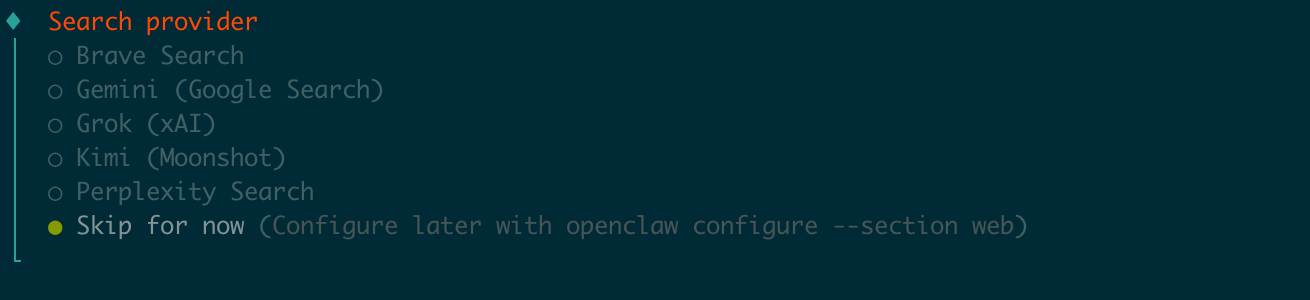
- Search provider -> Select Skip for now to skip search provider
- Configure skills now? (recommended) → Select No (Skills can be added anytime later, let's get it running first).

- Enable hooks? → Recommended to select all (boot-md, bootstrap-extra-files, command-logger, session-memory are all practical, especially session-memory which can automatically save context when switching sessions).

Install Gateway service → Select Yes (if this option appears, it means enabling auto-start on boot).
How do you want to hatch your bot? → Select Do this later (model is not configured yet, hatching now will fail; we'll do it after configuring
Coding Flow).
Hatch is OpenClaw's first personality initialization flow, setting the Bot's name, personality, and identity. We don't have a Bot configured here, so skip it.

After the wizard completes, you'll see Onboarding complete. At this point, the basic environment deployment is complete.
Step 3: Configure Coding Flow Model Information
The wizard has generated a complete configuration file for you, but it doesn't include models (because we selected Skip earlier). Now we need to add the Coding Flow model to it.
Open the configuration file openclaw.json
Windows:
C:\Users\<YOUER-USERNAME>\.openclaw\openclaw.json

macOS:
/Users/<YOUER-USERNAME>/.openclaw/openclaw.json

Linux:
/home/<YOUER-USERNAME>/.openclaw/openclaw.jsonWithin the outermost braces of the file, find an appropriate location (e.g., right after the meta block) and insert the following two configuration snippets. Remember to replace with your actual Coding Flow API Key:
"models": {
  "providers": {
    "codingflow": {
      "baseUrl": "https://api.codinglow.ai",
      "apiKey": "Enter your Coding Flow API key here",
      "api": "anthropic-messages",
      "models": [
        {
          "id": "claude-opus-4-6",
          "name": "Claude Opus 4.6 (Coding Flow)",
          "reasoning": true,
          "input": ["text", "image"],
          "contextWindow": 200000,
          "maxTokens": 16384
        }
      ]
    }
  }
},
"agents": {
  "defaults": {
    "model": {
      "primary": "codingflow/claude-opus-4-6"
    }
  }
}Important Note
If the configuration file already contains the agents field (the wizard may have generated a default one), you need to merge it instead of directly pasting a second copy. JSON cannot have two keys with the same name at the same level, otherwise the latter will overwrite the former, causing model configuration loss errors.
If you want to add other models, such as the Codex model, you can continue to add providers under models.providers.
"codingflow-openai": {
  "baseUrl": "https://api.codinglow.ai/v1",
  "apiKey": "Enter your Coding Flow API key here",
  "api": "openai-responses",
  "models": [
    {
      "id": "gpt-5.3-codex",
      "name": "GPT-5.3 Codex (Coding Flow)",
      "reasoning": false,
      "input": ["text", "image"],
      "cost": {
        "input": 0,
        "output": 0,
        "cacheRead": 0,
        "cacheWrite": 0
      },
      "contextWindow": 128000,
      "maxTokens": 16384
    }
  ]
}Additional Notes
After configuring providers, pay attention to the following two points:
- Set Default Model (Optional)
If you want to use the Codex model or other models as the default model, you can modify the primary field in the agents configuration:
"agents": {
  "defaults": {
    "model": {
      "primary": "codingflow-openai/gpt-5.3-codex"
    }
  }
}- Configure Model Allowlist (If Needed)
If your configuration file has a models.allowlist field, you need to add the newly added model to the allowlist to use it:
"models": {
  "allowlist": [
    "codingflow-claude/claude-opus-4-6",
    "codingflow-openai/gpt-5.3-codex"
  ],
  "providers": {
    // Keep your existing providers configuration here
  }
}If there's no
allowlistfield in the configuration file, it means the allowlist mechanism is not enabled, and all configured models can be used directly. Since the above shows configuration snippets, remember to check whether commas are correct when pasting into existing JSON.
Example Configuration File
{
  "wizard": {
    "lastRunAt": "2026-03-17T03:20:08.092Z",
    "lastRunVersion": "2026.3.13",
    "lastRunCommand": "onboard",
    "lastRunMode": "local"
  },
  "agents": {
    "defaults": {
      "workspace": "/Users/lixin/.openclaw/workspace",
      "models": {
        "codingflow-claude/claude-opus-4-6": {
          "alias": "claude-opus-4-6"
        },
        "codingflow-gemini/gemini-3.1-pro-preview": {
          "alias": "gemini-3.1-pro-preview"
        },
        "codingflow-openai/gpt-5.3-codex": {
          "alias": "gpt-5.3-codex"
        }
      },
      "model": {
        "primary": "codingflow-gemini/gemini-3.1-pro-preview"
      }
    }
  },
  "tools": {
    "profile": "coding"
  },
  "commands": {
    "native": "auto",
    "nativeSkills": "auto",
    "restart": true,
    "ownerDisplay": "raw"
  },
  "session": {
    "dmScope": "per-channel-peer"
  },
  "hooks": {
    "internal": {
      "enabled": true,
      "entries": {
        "boot-md": {
          "enabled": true
        },
        "bootstrap-extra-files": {
          "enabled": true
        },
        "command-logger": {
          "enabled": true
        },
        "session-memory": {
          "enabled": true
        }
      }
    }
  },
  "gateway": {
    "port": 18789,
    "mode": "local",
    "bind": "loopback",
    "auth": {
      "mode": "token",
      "token": "c51090af860cd707e8c6faecf6da45e27a24fea3f339f8e4"
    },
    "tailscale": {
      "mode": "off",
      "resetOnExit": false
    },
    "nodes": {
      "denyCommands": [
        "camera.snap",
        "camera.clip",
        "screen.record",
        "contacts.add",
        "calendar.add",
        "reminders.add",
        "sms.send"
      ]
    }
  },
  "meta": {
    "lastTouchedVersion": "2026.3.13",
    "lastTouchedAt": "2026-03-17T03:20:08.105Z"
  },
  "models": {
    "providers": {
      "codingflow-gemini": {
        "baseUrl": "https://api.codinglow.ai/v1beta",
        "apiKey": "sk-xxxxxxxxxxxxxxxxxxxxxxxx",
        "api": "google-generative-ai",
        "models": [
          {
            "id": "gemini-3.1-pro-preview",
            "name": "Gemini 3.1 Pro (Coding Flow)",
            "reasoning": true,
            "input": ["text", "image"],
            "contextWindow": 2000000,
            "maxTokens": 8192
          }
        ]
      },
      "codingflow-claude": {
        "baseUrl": "https://api.codinglow.ai",
        "apiKey": "sk-xxxxxxxxxxxxxxxxxxxxxxxx",
        "api": "anthropic-messages",
        "models": [
          {
            "id": "claude-opus-4-6",
            "name": "Claude Opus 4.6 (Coding Flow)",
            "reasoning": true,
            "input": ["text", "image"],
            "contextWindow": 200000,
            "maxTokens": 16384
          }
        ]
      },
      "codingflow-openai": {
        "baseUrl": "https://api.codinglow.ai/v1",
        "apiKey": "sk-xxxxxxxxxxxxxxxxxxxxxxxx",
        "api": "openai-responses",
        "models": [
          {
            "id": "gpt-5.3-codex",
            "name": "GPT-5.3 Codex (Coding Flow)",
            "reasoning": false,
            "input": ["text", "image"],
            "cost": {
              "input": 0,
              "output": 0,
              "cacheRead": 0,
              "cacheWrite": 0
            },
            "contextWindow": 128000,
            "maxTokens": 16384
          }
        ]
      }
    }
  }
}Explanation of the api Field:
anthropic-messages: For Claude series models (Claude Opus 4.6, Claude Sonnet 4, etc.).openai-responses: For GPT series models (GPT-4o, GPT-3.5, etc.), as well as most open-source models compatible with OpenAI format.google-generative-ai: For Google Gemini series models (Gemini 2.0, Gemini 3.0, etc.).
Step 4: Restart Service to Start Conversation
After modifying the configuration file, you need to restart OpenClaw for it to take effect:
openclaw gateway restart
openclaw gateway statusAs long as the status is running, it means the service is running normally and you can continue to the next step of pairing.
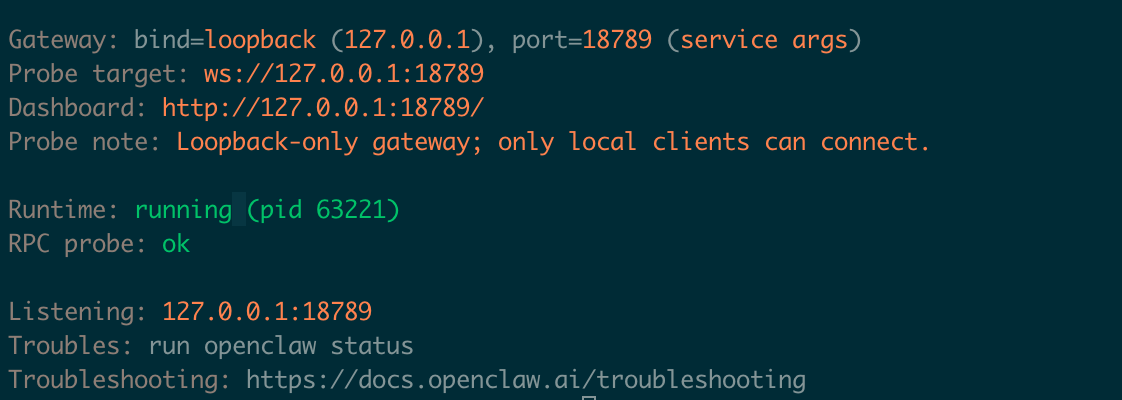
Access the gateway dashboard URL displayed in the console to see the OpenClaw Gateway Dashboard: http://127.0.0.1:18789
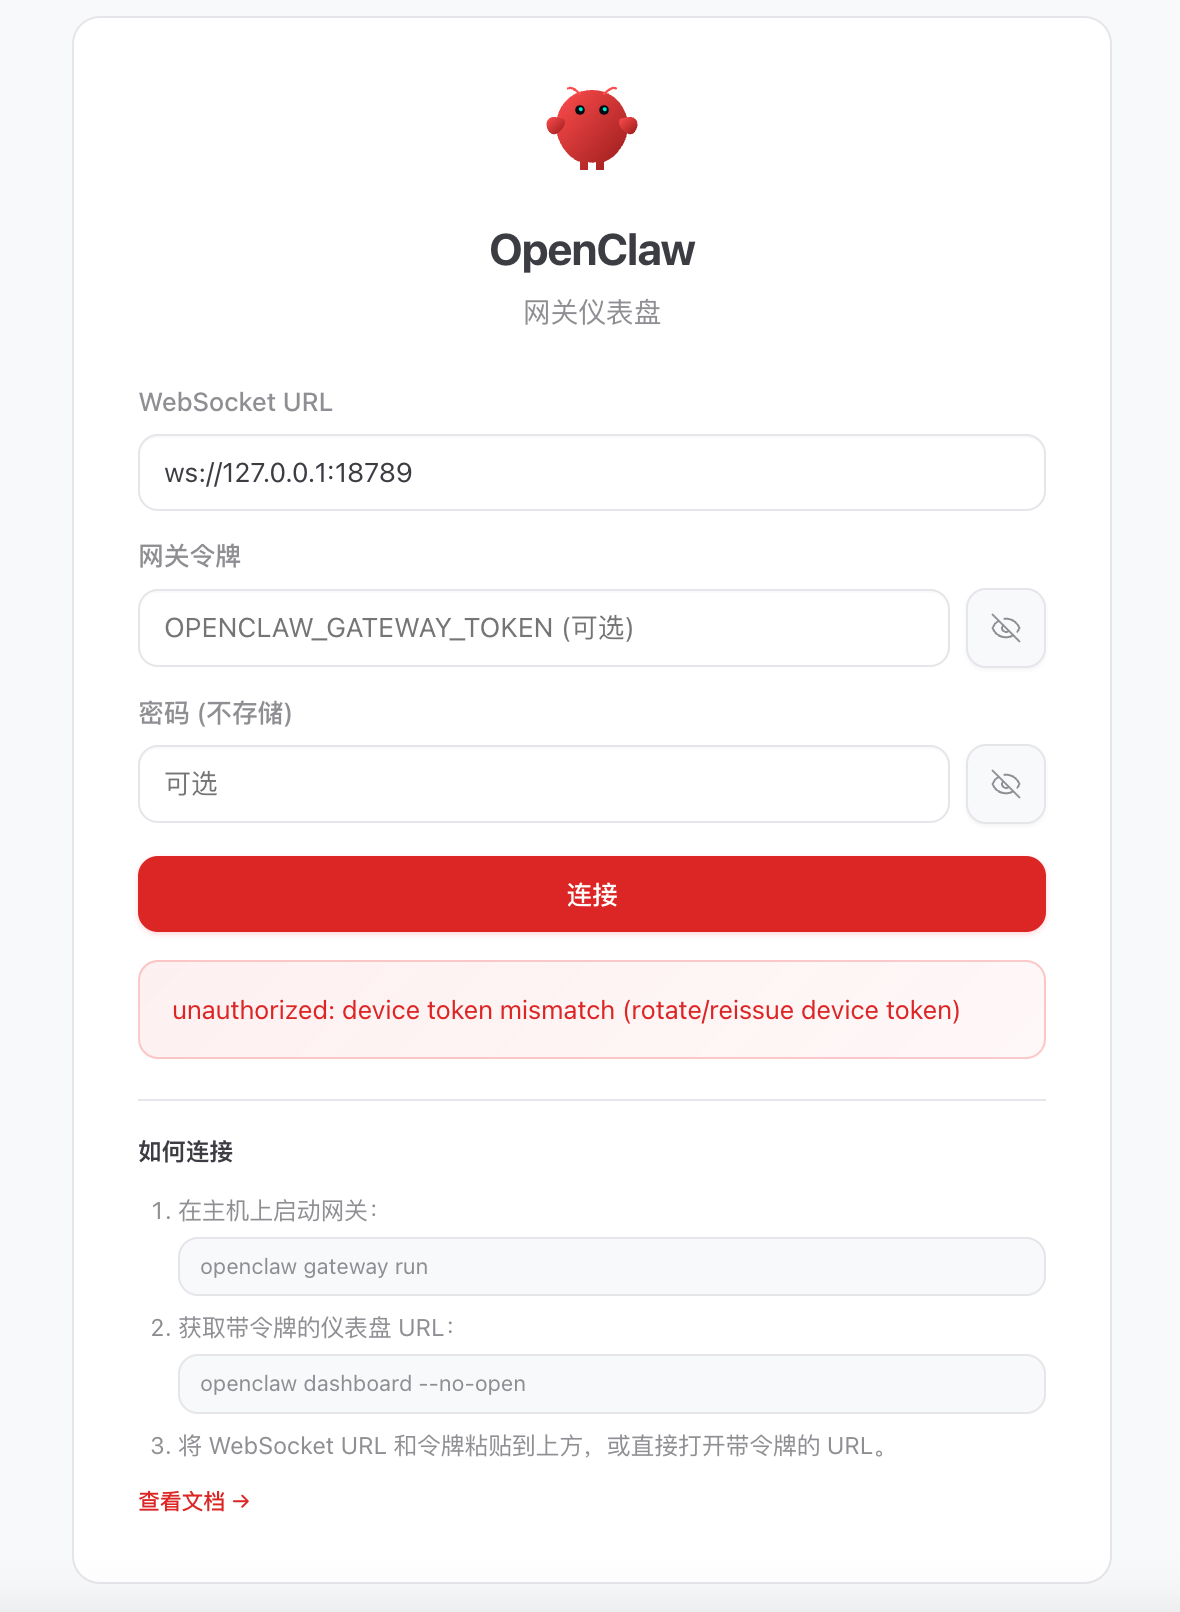
At this point, there are still the last two commands that need to be executed. You need to configure the OpenClaw gateway token before you can use the OpenClaw gateway.
openclaw gateway run
openclaw dashboard --no-open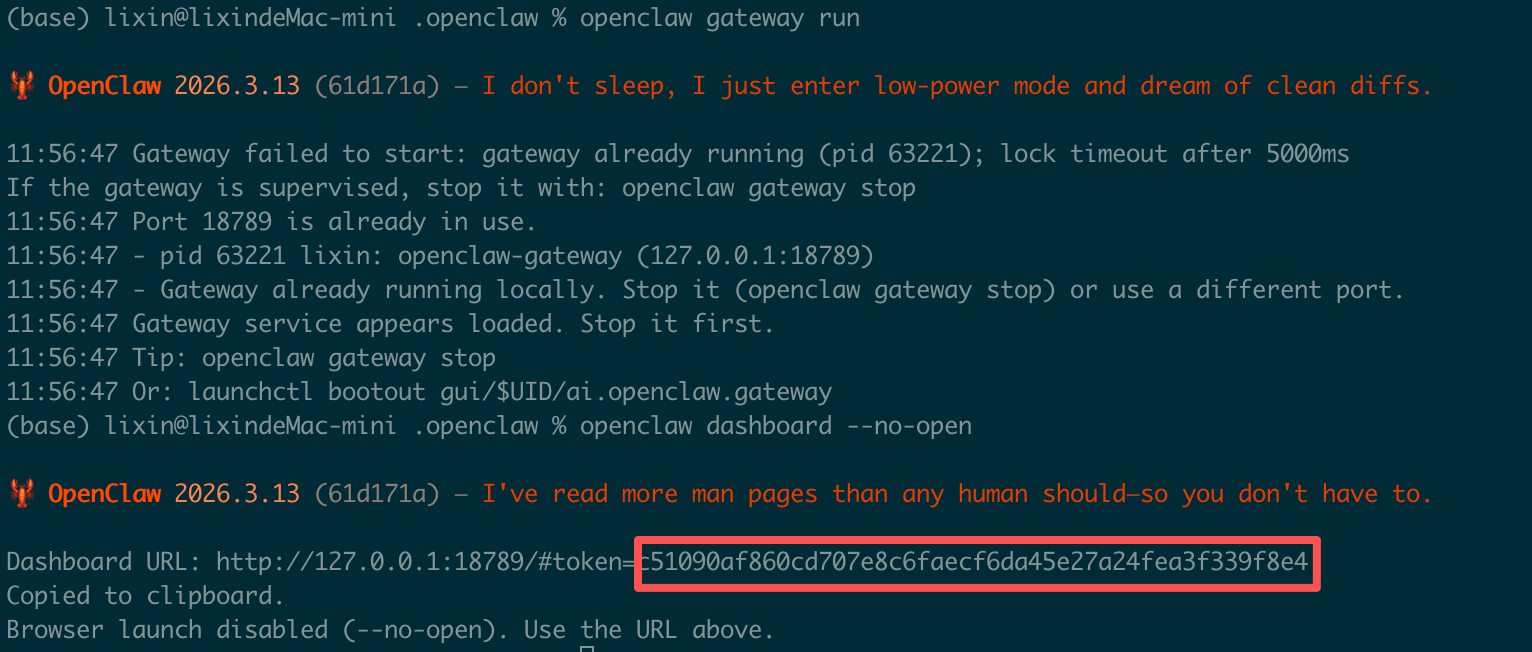
Enter the generated gateway token in the gateway dashboard and configure the login password.
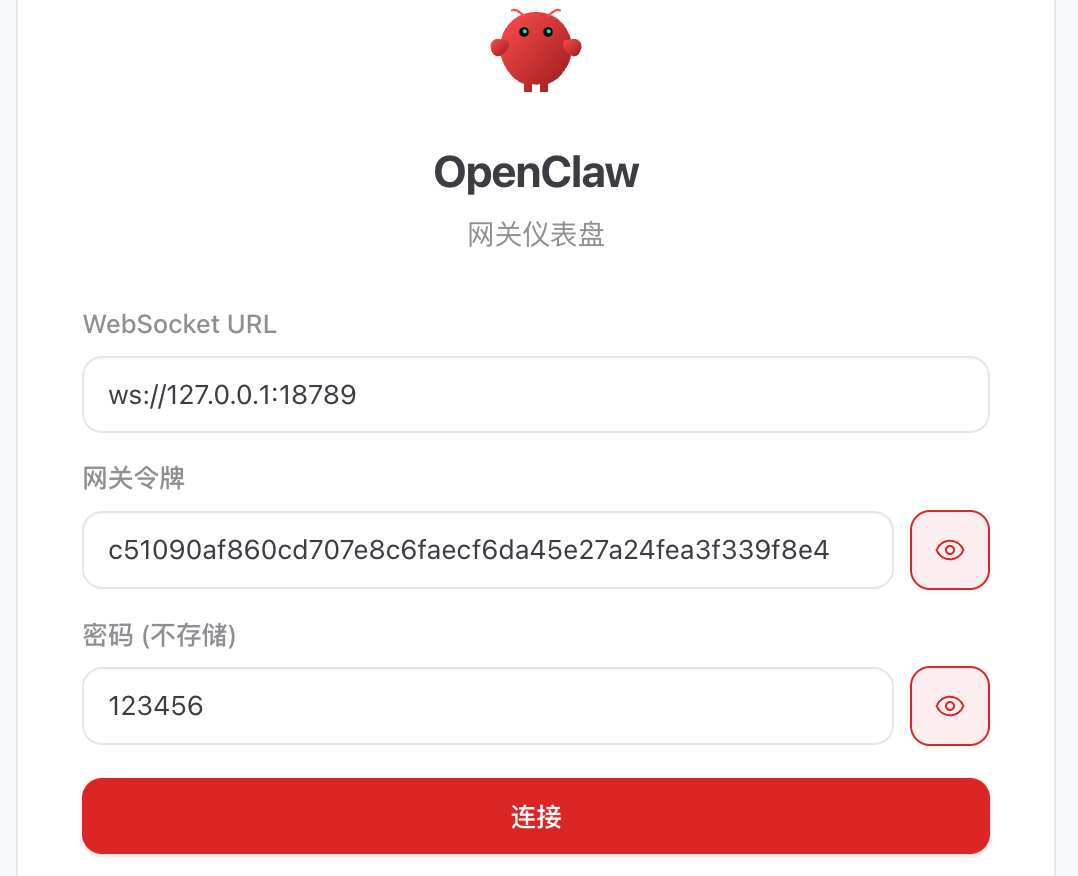
After completing the configuration, enter the dashboard to start chatting.